With the rise of Internet of Things (IoT) applications, the ability to remotely access Raspberry Pi RemoteIoT has become a cornerstone for modern tech enthusiasts and professionals alike. In today’s interconnected world, controlling and managing devices from a distance is no longer a luxury but a necessity. Whether you're a hobbyist tinkering with smart home devices or an enterprise managing IoT infrastructures, understanding how to seamlessly access your Raspberry Pi remotely is vital. This guide dives deep into the methods, tools, and best practices to ensure your Raspberry Pi remains accessible and secure, empowering you to leverage its full potential for IoT projects.
By enabling remote access, you open the door to endless possibilities for automation, monitoring, and control. However, with great power comes the need for caution. Security breaches and unauthorized access are real concerns when exposing your device to the internet. This article not only covers the technical aspects of setting up remote access but also emphasizes the importance of safeguarding your Raspberry Pi RemoteIoT setup. From configuring SSH to utilizing cloud-based solutions, we’ll explore every angle to ensure your IoT projects remain both accessible and secure.
Whether you're looking to troubleshoot from afar, deploy updates, or simply monitor sensor data, mastering remote access is key. This guide is designed to provide actionable insights, practical tips, and expert advice, empowering you to take full control of your Raspberry Pi RemoteIoT setup. Let’s embark on this journey to enhance your IoT capabilities and unlock new possibilities for your projects.
Read also:Gene Wilder Real Name The Untold Story Behind A Legendary Actor
Table of Contents
- How to Begin Remotely Accessing Raspberry Pi RemoteIoT?
- Why Is Security Crucial When Remotely Access Raspberry Pi RemoteIoT?
- What Are the Best Tools for Remote Access?
- Can You Use SSH for Remotely Access Raspberry Pi RemoteIoT?
- Setting Up SSH for Remote Access
- Understanding Cloud-Based Solutions
- What Are the Steps to Secure Your RemoteIoT Setup?
- Troubleshooting Common Issues
- Advanced Techniques for Enhanced Control
- How Can You Automate RemoteIoT Tasks?
How to Begin Remotely Accessing Raspberry Pi RemoteIoT?
Embarking on the journey of remotely accessing your Raspberry Pi RemoteIoT begins with setting up the foundational infrastructure. First, ensure your Raspberry Pi is properly configured and connected to your local network. This involves assigning a static IP address to your device, which serves as its unique identifier within the network. Once your Raspberry Pi is online, you can proceed to enable remote access protocols such as SSH (Secure Shell). SSH allows you to connect to your Raspberry Pi from any location with an internet connection, granting you terminal access to execute commands and manage files.
To begin, you’ll need to install and configure SSH on your Raspberry Pi. This can be done through the Raspberry Pi Configuration tool or by manually editing configuration files. Additionally, consider setting up a dynamic DNS service if your internet service provider assigns a dynamic IP address. This ensures you can consistently connect to your Raspberry Pi even if your public IP changes. By following these initial steps, you lay the groundwork for a robust remote access setup.
Why Is Security Crucial When Remotely Access Raspberry Pi RemoteIoT?
Security should always be a top priority when enabling remote access to your Raspberry Pi RemoteIoT. Exposing your device to the internet introduces potential vulnerabilities that could be exploited by malicious actors. Hackers may attempt to gain unauthorized access to your system, compromising sensitive data or disrupting your IoT setup. To mitigate these risks, implement strong authentication mechanisms such as passwordless SSH keys and two-factor authentication.
Regularly update your Raspberry Pi’s operating system and installed software to patch known vulnerabilities. Additionally, consider using a firewall to restrict incoming connections to only those necessary for your remote access setup. By prioritizing security, you protect your Raspberry Pi RemoteIoT from unauthorized access and ensure the integrity of your IoT projects.
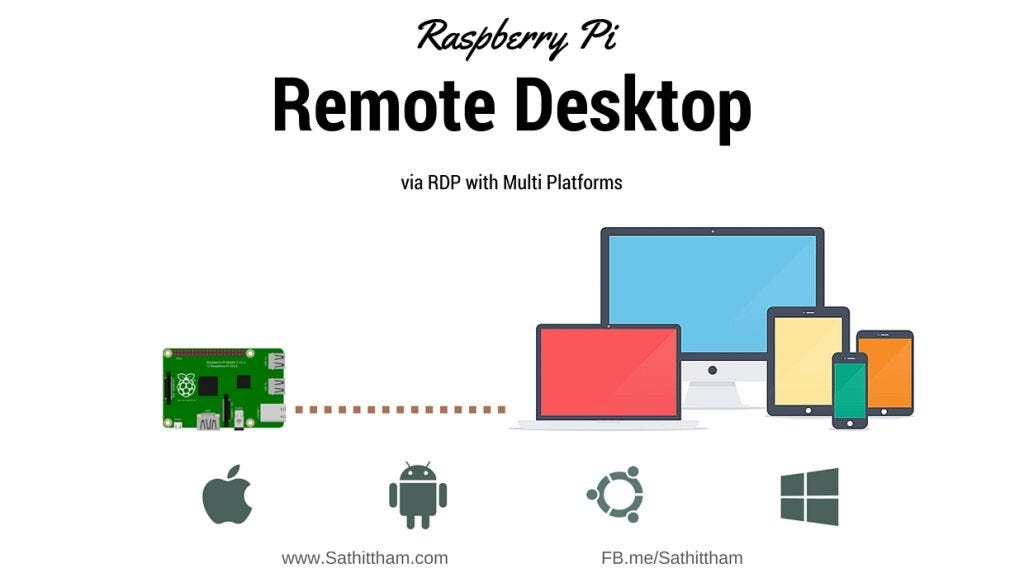
What Are the Best Tools for Remote Access?
A variety of tools are available to facilitate remote access to your Raspberry Pi RemoteIoT. Among the most popular is SSH, which provides secure terminal access and file transfer capabilities. For a more user-friendly experience, consider utilizing VNC (Virtual Network Computing), which allows you to remotely control your Raspberry Pi’s graphical interface. Additionally, cloud-based solutions like ngrok and remot3.it offer convenient ways to expose your Raspberry Pi to the internet without the need for complex network configurations.
When choosing a tool, consider factors such as ease of setup, security features, and compatibility with your specific use case. Each tool has its strengths and limitations, so selecting the right one depends on your project requirements and technical expertise. Experiment with different options to find the best fit for your Raspberry Pi RemoteIoT setup.
Read also:Exploring The Life And Legacy Of Charlie Murphy Brother Of Eddie Murphy
Can You Use SSH for Remotely Access Raspberry Pi RemoteIoT?
SSH (Secure Shell) is one of the most reliable methods for remotely accessing your Raspberry Pi RemoteIoT. It provides a secure channel for executing commands, transferring files, and managing your device from anywhere in the world. Enabling SSH on your Raspberry Pi is straightforward and can be done through the Raspberry Pi Configuration tool or by manually editing the SSH configuration file.
To use SSH effectively, ensure you have a secure connection by implementing SSH keys for authentication instead of relying on passwords. This adds an extra layer of security and reduces the risk of brute-force attacks. Additionally, consider using a non-standard SSH port to further enhance security. By leveraging SSH, you gain powerful control over your Raspberry Pi RemoteIoT setup while maintaining robust security measures.
Setting Up SSH for Remote Access
Configuring SSH on your Raspberry Pi involves several key steps. First, enable SSH through the Raspberry Pi Configuration tool, which can be accessed via the terminal or the desktop interface. Once enabled, you can connect to your Raspberry Pi using an SSH client such as PuTTY (for Windows) or the built-in terminal application on macOS and Linux.
For added security, generate SSH keys on your local machine and copy the public key to your Raspberry Pi. This allows you to authenticate without entering a password each time you connect. Additionally, configure your router to forward the SSH port (default is 22) to your Raspberry Pi’s local IP address. By following these steps, you establish a secure and reliable connection for remotely accessing your Raspberry Pi RemoteIoT.
Understanding Cloud-Based Solutions
Cloud-based solutions offer an alternative approach to remotely accessing your Raspberry Pi RemoteIoT. Services like ngrok and remot3.it simplify the process by creating a secure tunnel between your local device and the internet. These tools eliminate the need for complex network configurations, making them ideal for users with limited technical expertise.
Using a cloud-based solution involves installing the respective software on your Raspberry Pi and generating a public URL that exposes your device to the internet. This URL can then be used to access your Raspberry Pi remotely via SSH or other protocols. While convenient, it’s important to evaluate the security features of each service to ensure your data remains protected.
What Are the Steps to Secure Your RemoteIoT Setup?
Securing your Raspberry Pi RemoteIoT setup requires a multi-layered approach. Start by updating your operating system and installed software to the latest versions, patching any known vulnerabilities. Next, implement strong authentication mechanisms such as SSH keys and two-factor authentication to prevent unauthorized access.
In addition to authentication, configure a firewall to restrict incoming connections to only those necessary for your remote access setup. Disable unused services and protocols to minimize the attack surface. Regularly monitor your system logs for suspicious activity and take immediate action if any unauthorized access attempts are detected. By following these steps, you create a secure environment for remotely accessing your Raspberry Pi RemoteIoT.
Troubleshooting Common Issues
Despite careful setup, issues may arise when remotely accessing your Raspberry Pi RemoteIoT. Common problems include connection timeouts, authentication failures, and network configuration errors. To troubleshoot these issues, start by verifying your network settings and ensuring your Raspberry Pi is reachable from the internet.
Check your SSH configuration file for any misconfigurations and ensure your firewall rules allow incoming SSH connections. If using a cloud-based solution, confirm that the service is properly installed and configured on your Raspberry Pi. By methodically addressing each potential issue, you can resolve connectivity problems and restore access to your device.
Advanced Techniques for Enhanced Control
For advanced users, leveraging scripts and automation tools can enhance your ability to remotely manage your Raspberry Pi RemoteIoT. Write custom scripts to automate routine tasks such as backups, updates, and monitoring. Utilize cron jobs to schedule these scripts to run at specific intervals, ensuring your system remains up-to-date and optimized.
Explore containerization technologies like Docker to isolate applications and services running on your Raspberry Pi. This improves resource management and simplifies deployment. By incorporating advanced techniques into your workflow, you gain greater control over your Raspberry Pi RemoteIoT setup and streamline your IoT projects.
How Can You Automate RemoteIoT Tasks?
Automation is a powerful tool for managing your Raspberry Pi RemoteIoT setup efficiently. By automating repetitive tasks, you save time and reduce the risk of human error. Use tools like Ansible or Puppet to manage configurations and deploy updates across multiple devices. These tools allow you to define your desired system state and automatically apply changes as needed.
Incorporate monitoring solutions like Nagios or Zabbix to keep an eye on your Raspberry Pi’s performance and health. Set up alerts to notify you of any anomalies or issues that require attention. By automating these processes, you ensure your Raspberry Pi RemoteIoT setup remains stable and functional, allowing you to focus on more critical aspects of your IoT projects.
In conclusion, mastering the art of remotely accessing your Raspberry Pi RemoteIoT empowers you to unlock new possibilities for your IoT projects. By following the best practices and techniques outlined in this guide, you can establish a secure and efficient remote access setup while maintaining control over your device. Whether you’re a beginner or an experienced professional, the knowledge and tools provided here will serve as a valuable resource in your IoT journey.